
22 September 2020
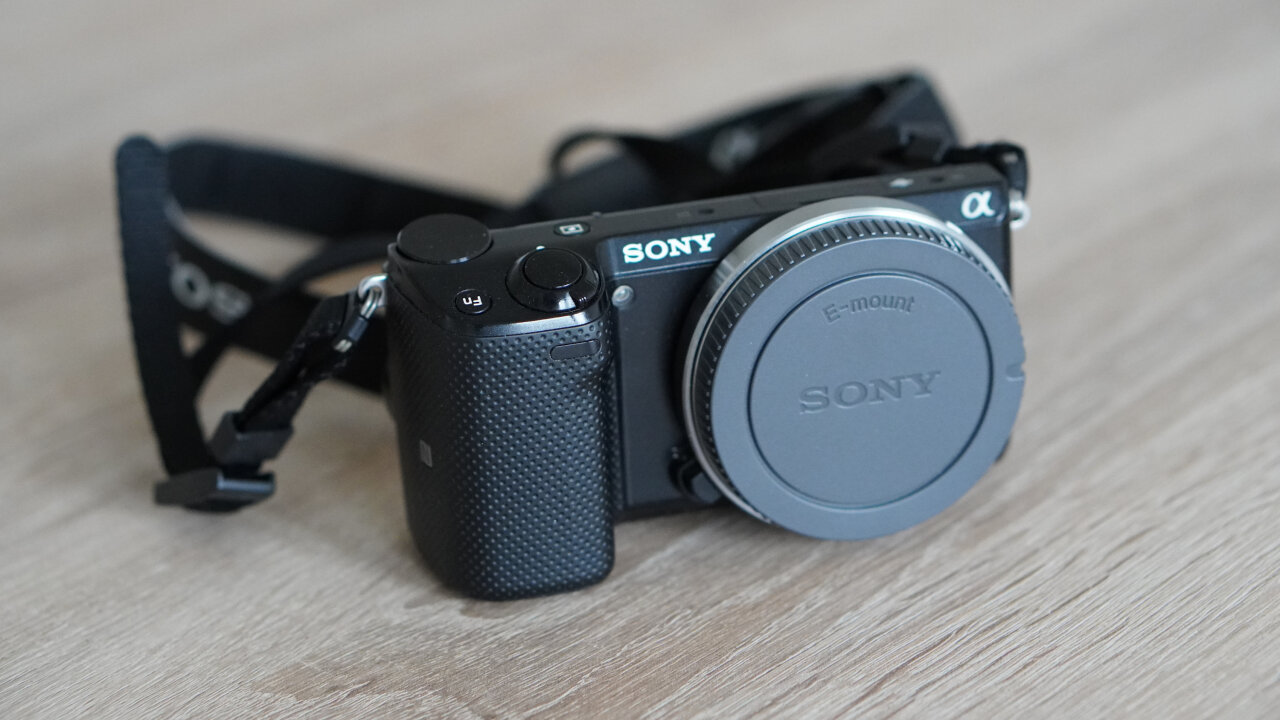
In principle, this should be a simple one. I have an older Sony Alpha NEX-5T, which I wanted to use to create timelapses of my 3d prints. Spoiler alert: I found a way and you can find some examples in the Youtube video:
Read on, if you want to use your Sony Alpha like this, too.
Let’s start with the printing software for those of you who are not into 3d printing. If you are not copying your models onto an SD card and printing directly from your printer, chances are very high that you are using an open source gem called Octoprint. I run it on an older Raspberry Pi 2 that is directly connected to the 3d printer. With Octoprint I can control everything via a web interface and it directly sends commands to the printer.
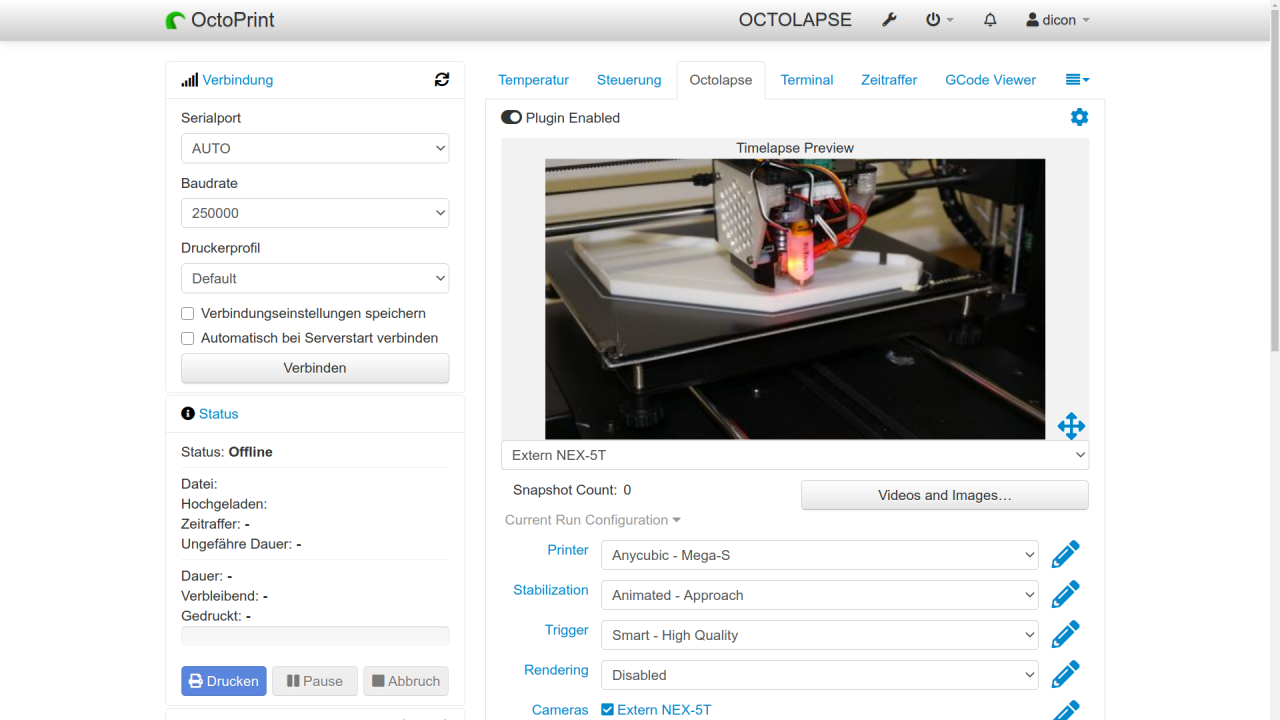
Octoprint can directly create timelapses, but those are rather basic. If you use this integrated function, pictures are just taken periodically with the printer being in rather random states. These timelapses look twitchy as all the parts and maybe even the model1 are in random positions in every frame. Instead, if you want to have a really beautiful timelapse, you would use a plugin called Octolapse. This plugin is able to match the frames to completed print layers or even move the printer into a specific state before taking a picture2. This leads to beautiful timelapses in which the hotend seems to hover in a specific location while the print is growing underneath it. It even can animate the x and/or y position to let the model or the hotend glide smoothly through the timelapse.
So, that is all great and very sophisticated. Unfortunately, there is only a simple webcam attached to my printing setup to allow me to remotely supervise the print. It is not capable of creating low-noise 1080p images.
However, Octolapse can trigger external cameras and retrieve their images using a simple shell script. Most users use gPhoto to control professional cameras and in fact, modern Sony cameras can be controlled this way via a simple USB cable. Actually, I bought a Sony Alpha 6400 last year, a few months after my first son was born. It is an amazing camera and fully supported - but I did not buy it to tie it to my 3d printer for several hours or days3.
In the end, I do not need such an amazing camera to take periodic images in video resolution and the a6400 replaced my older Sony Alpha NEX-5T, which I did not sell as I would have gotten much less for it than it is worth to me. After all, it is still a pretty decent mirrorless camera with an APS-C sensor that is compatible with all my lenses for my main camera. I even still have a dummy battery AC adapter. In fact, if you are just looking for a good camera for timelapses and if you like my approach here, I would say, search for a cheap used Sony Alpha NEX.
There is only one problem: This camera does not have an option to control it via USB.
Weirdly, the NEX-5T was already capable of being controlled over the network with the app “Imaging Edge”4. The app connects to a Wifi hotspot created by the camera, shows a (low-res) live view and is capable of triggering and retrieving photos in full resolution. But still, I could not find any tutorial or anyone using one of these cameras with Octolapse.
There is also a little hardware problem that is very easy to solve. The NEX-5T can connect to an existing Wifi infrastructure, but only for its camera app system. The remote control function seems to always set up its own network5. So, since my Raspberry Pi 2 does not have a Wifi module, I needed to add a cheap simple Wifi USB dongle and set it up to automatically connect to the camera’s network whenever it shows up.
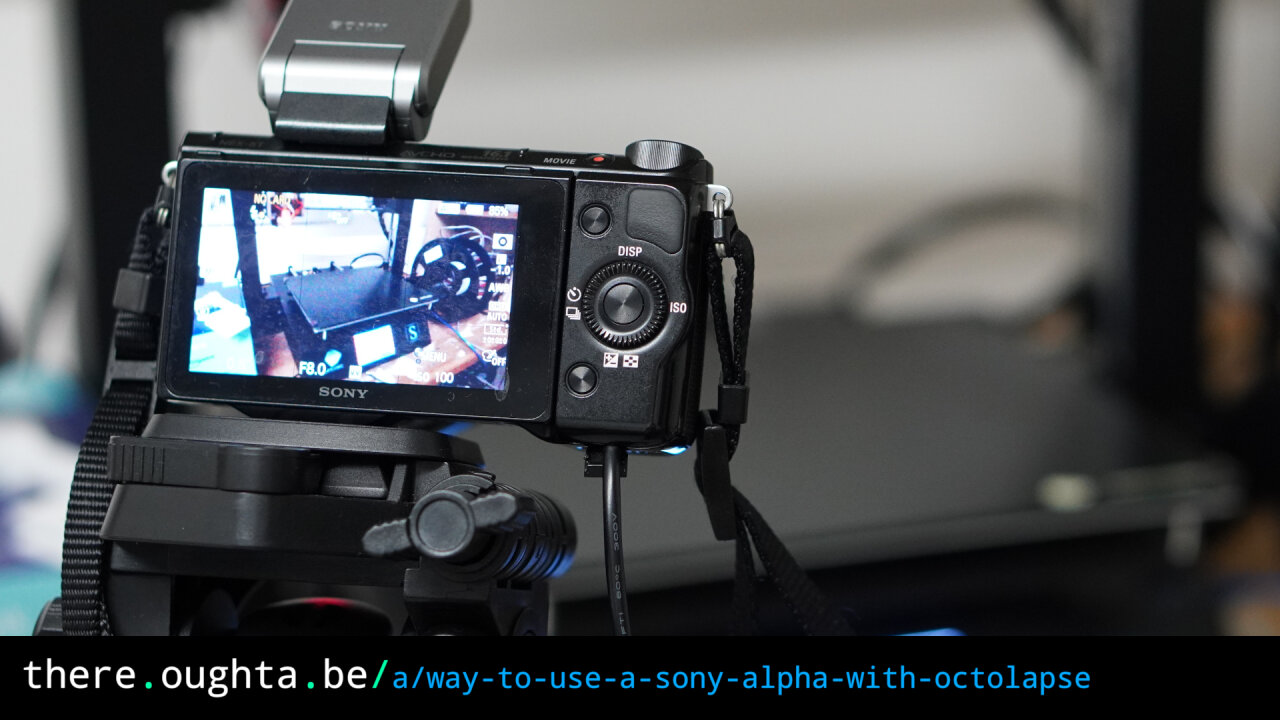
On the camera I need to start the remote control mode, the Pi connects to the camera’s Wifi and in theory from there it is only a software problem to trigger the camera and retrieve the images. That’s where I got a very nice surprise: The communication is done via a simple REST API that is well documented by Sony.
It only took me a few minutes to figure out suitable curl commands to connect to the camera6, trigger a photo and download the image from the URL that is given as a response by the trigger command.
And that’s it. So without further story telling, here is the Octolapse script to integrate any Sony Alpha camera compatible with the Imaging Edge app7. This is mostly based on the Octolapse example script.
1
2
3
4
5
6
7
8
9
10
11
12
13
14
15
16
17
18
19
20
21
22
23
24
25
26
27
28
29
30
31
32
33
#!/bin/sh

CAMURL="http://192.168.122.1:8080/sony/camera/"

# Put the arguments sent by Octolapse into variables for easy use
SNAPSHOT_NUMBER=$1
DELAY_SECONDS=$2
DATA_DIRECTORY=$3
SNAPSHOT_DIRECTORY=$4
SNAPSHOT_FILENAME=$5
SNAPSHOT_FULL_PATH=$6

# Check to see if the snapshot directory exists
if [ ! -d "${SNAPSHOT_DIRECTORY}" ];
then
  echo "Creating directory: ${SNAPSHOT_DIRECTORY}"
  mkdir -p "${SNAPSHOT_DIRECTORY}"
fi

echo "Connecting to camera."
curl -s -X POST -d '{"version":"1.0","id":1,"method":"startRecMode","params":[]}' "${CAMURL}" > /dev/null

echo "Taking picture."
SOURCE=`curl -s -X POST -d '{"version":"1.0","id":1,"method":"actTakePicture","params":[]}' "${CAMURL}" | jq -r '.result[0][0]'`
echo "Downloading picture from ${SOURCE}."
curl -s -o "${SNAPSHOT_FULL_PATH}" "${SOURCE}"
echo "Done."

if [ ! -f "${SNAPSHOT_FULL_PATH}" ];
then
  echo "The snapshot was not found in the expected directory: '${SNAPSHOT_FULL_PATH}'." >&2
  exit 1
fi
Simply save that script on your Pi or PC that runs Octoprint, make sure that it is executable (chmod +x) and set it as the “External Camera Setup - Script” in OctoLapse. If you set your camera to a wide frame, you should get exact 16:9 1080p images from it. If you want more, you can also add another command to transfer the full resolution, which would exceed 4k8.
Important: You need to install jq which is a simple command line tool to interpret JSON data. A simple sudo apt install jq should do on most typical Octoprint systems. If not, you certainly know how to get it.
That’s it. There is not much more to say. Instead, here is a low-res9 example of the result:
Some better lighting and maybe one of my better lenses would improve that example, but you get the idea. If you have an old Sony Alpha or if you are looking for a cheap used camera with a large sensor for timelapses, this might be an interesting one for you.
If your printer moves the print bed along the y axis, the camera would need to be mounted to the bed to be in the same relative position every time. ↩
At the cost of an increased print time and in some cases more printing artifacts. ↩
After all, I want it to be ready to take family pictures, especially with my new-born second son. Besides that, since I mostly work from home since the Covid19 pandemic, this is my main camera for conferences and for work-related videos. It is pretty much running all the time either for work or for my family. ↩
Formerly called PlayMemories. ↩
I would be extremely happy if someone could contradict me on this. ↩
This is not the Wifi connection, but rather a handshake to let the camera know that a client has connected. This get’s rid of the “connecting” screen on the camera and allows to set up the camera in the very annoying remote control mode. ↩
Well, I did not test them all, obviously. But I do not see why any of the cameras should not be compatible to this script. ↩
You need to put a memory card into the camera for this, which I did not do. ↩
Check out the Youtube video to see some higher resolution examples. ↩