
21 September 2020
When my brother got married, I needed a wedding gift. Of course, I did not go with something ordinary. Instead I 3D printed a holder for an e-ink display that served as a digital guestbook.
Guests as well as friends who could not attend (especially during the Corona pandemic) can easily send messages from their phones that are shown immediately.
The principle of this wedding gift is very simple. I provide a URL1 which the guests simply enter into the web browser on their phones. There they find a simple editor that asks for their name and a message and offers to select a font and doodle some decorations2. The web interface shows a preview of their message as it will be seen on the guestbook screen and if the message passes some sanity checks, they can submit it.
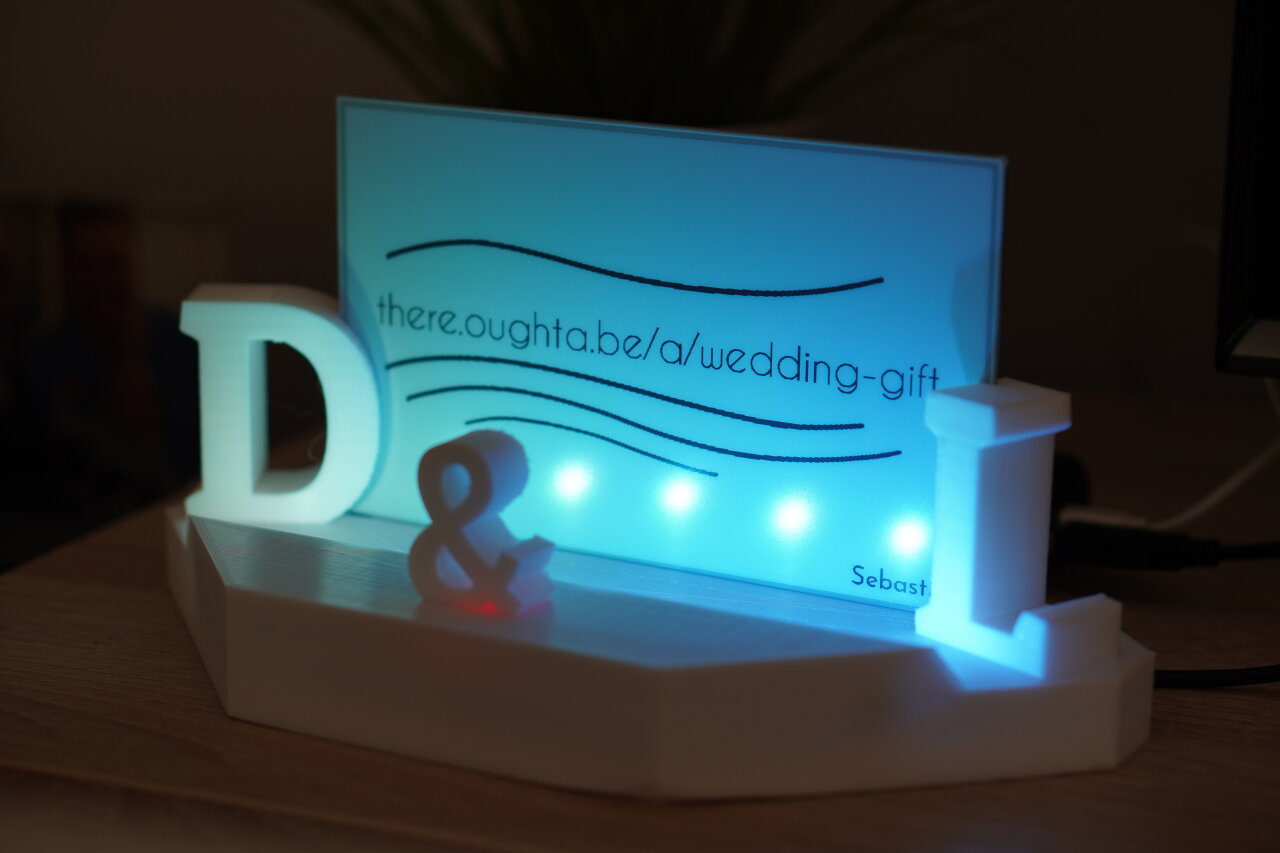
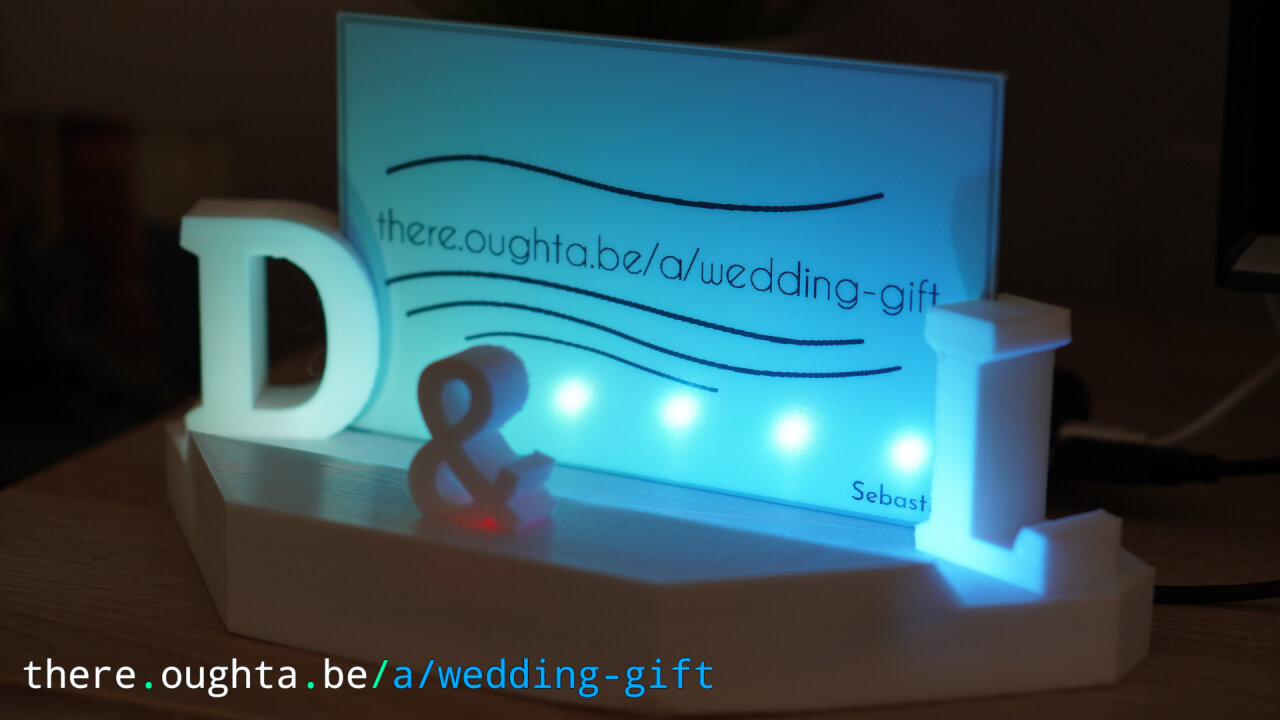
Then, usually within a few seconds, the image appears on the e-ink screen of the guestbook, which otherwise cycles through a random sequence of older messages. During the wedding reception in broad daylight the e-paper is clearly readable and an unusual sight for most guests. Later, in a darker environment, the guestbook draws the attention from the guests with a small array of individually addressable LEDs that illuminate the screen with a light gradient of pastel colors3.
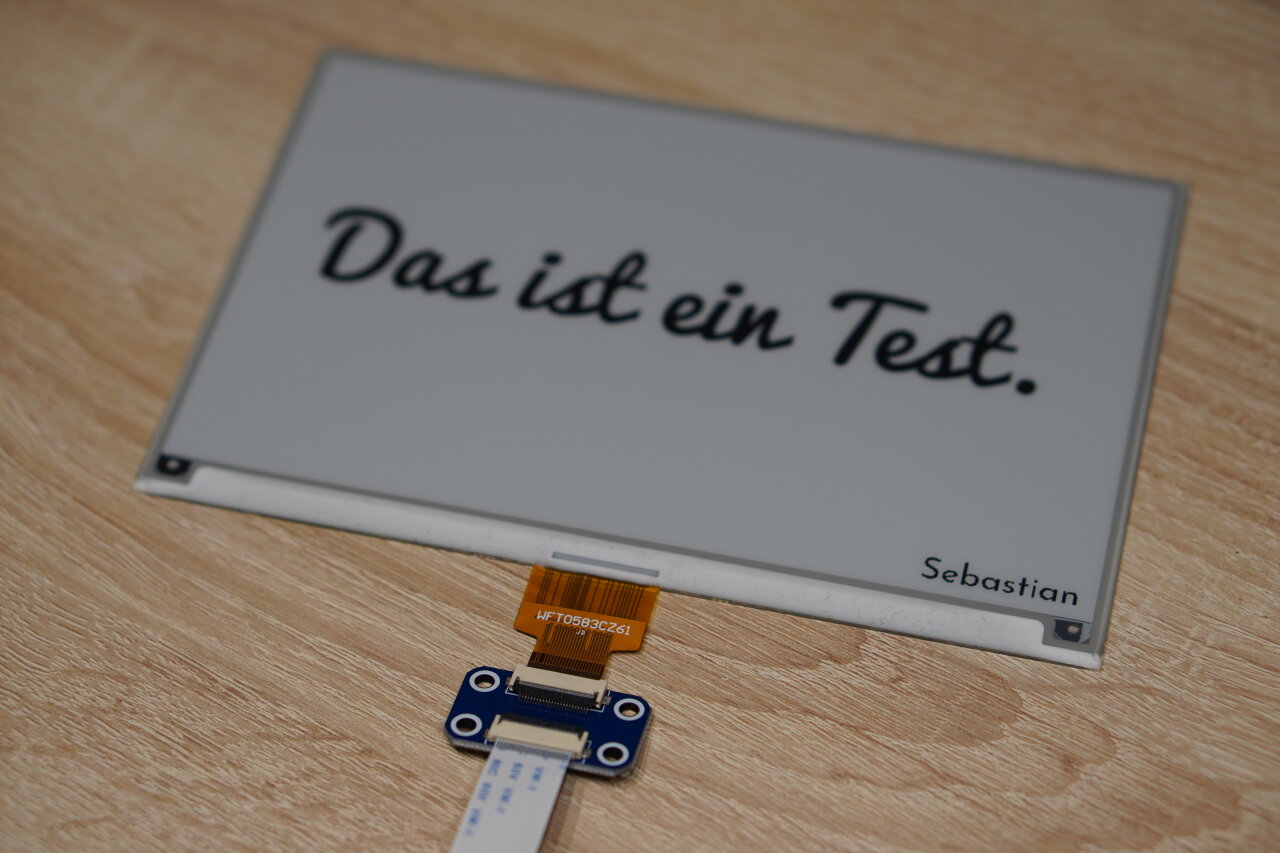
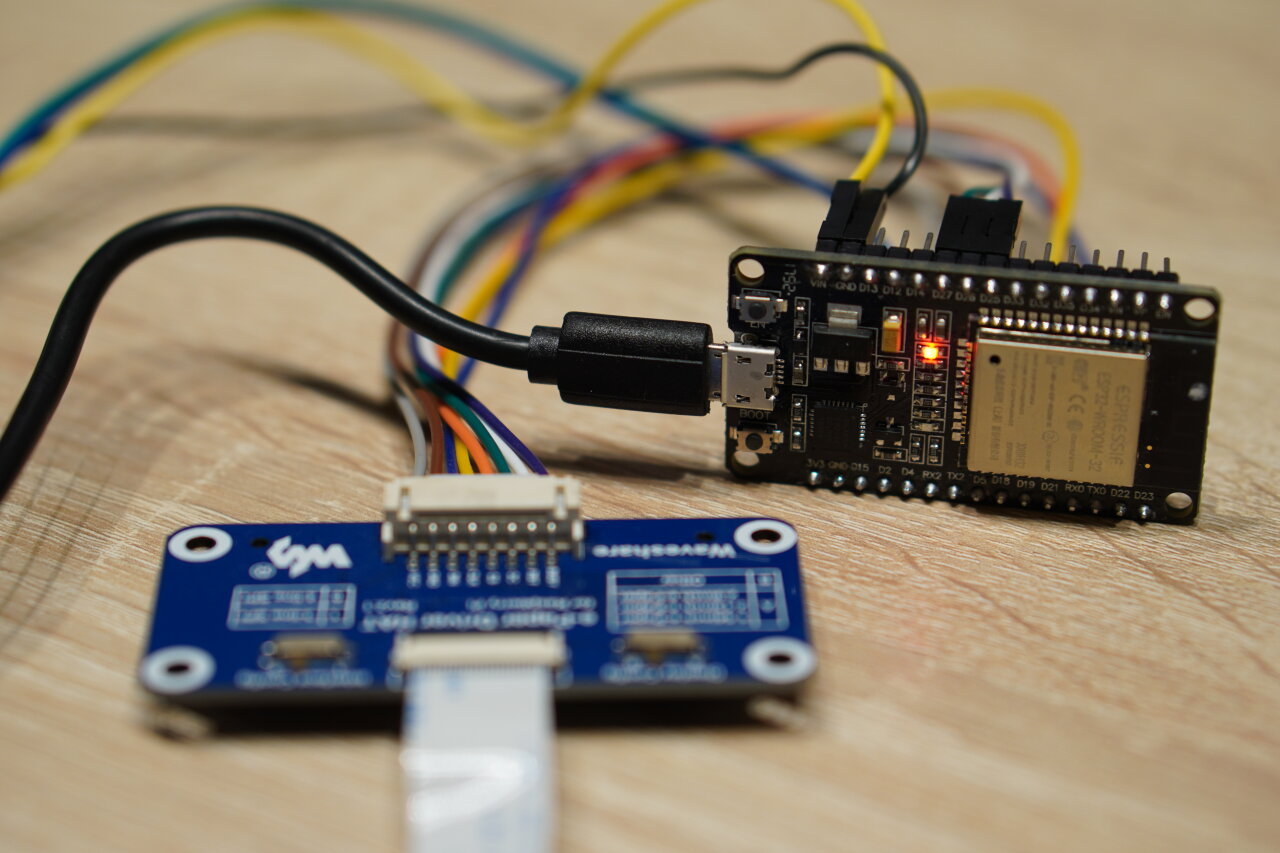
The central part of the guestbook is a 7.5” e-paper display by Waveshare. The size is similar to that of most common e-book readers and it has the same typical matte surface with the amazing readability under bright light that is the great selling point of e-ink displays. Its resolution of 800x480 is not superior but sufficient for this use case and its biggest flaw is that is is truly black and white only, i.e. no gray pixels for smooth letters.
The great advantage of the Waveshare displays is that they are marketed to makers. It comes with a driver board that is designed to be directly wired to a Raspberry Pi or an Arduino. Of course, it also comes with resources and examples to drive the display.
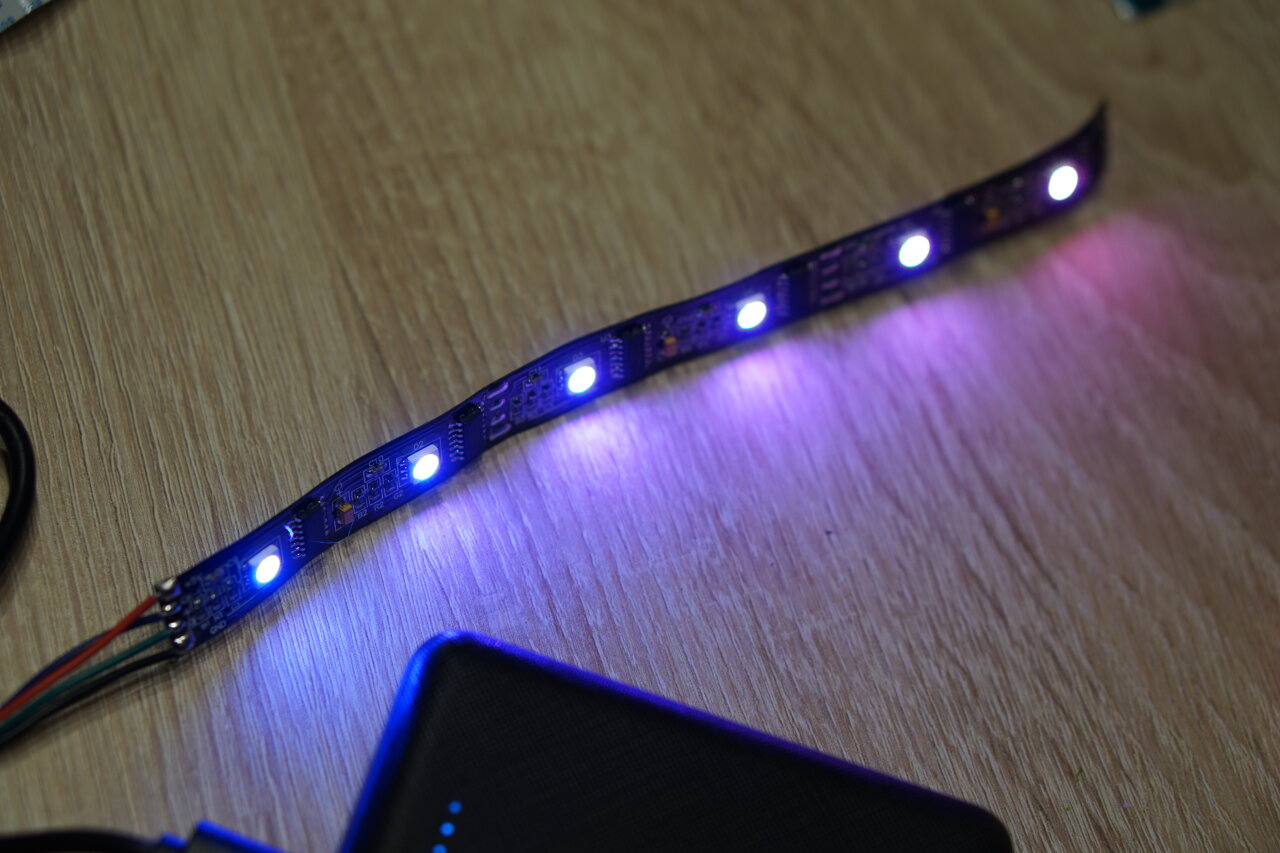
The LEDs is just a short piece of an WS2801 LED strip I had left over from an older project. I chose to use six LEDs, so that the total current drawn by the project with all LEDs on white would not exceed 500mA. This way I can run the guestbook of any USB port4. If my brother eventually wants to use it as a desk ornament, he can use a simple phone charger, and on the actual wedding I ran it off a cheap power bank that theoretically could power the guestbook for 20 hours.
As the brains of the guestbook, I used an ESP32. Thanks to its Wifi module, it was able to use the Wifi at the wedding location5 to poll new messages from my web server and store them in its SPI flash file system (SPIFFS). Both, the screen driver as well as the LEDs were wired directly to the ESP’s GPIO ports without any additional electronics required. Even more so, since I made sure to stay below 500mA, I could even misemploy the ESP’s VIN pin to directly route the USB port’s 5V to the LED strip.
| ESP32 Pin | Function |
|---|---|
| Gnd | Gnd of display driver |
| 3.3V | VCC of display driver |
| D5 | CS pin of display driver |
| D18 | Clock pin of display driver |
| D23 | DIN pin of display driver |
| D25 | Busy pin of display driver |
| D26 | Reset pin of display driver |
| D27 | DC pin of display driver |
| Gnd | Gnd of LED strip |
| VIN | 5V from USB to LED strip |
| D4 | Clock pin of LED strip |
| D15 | Data pin of LED strip |
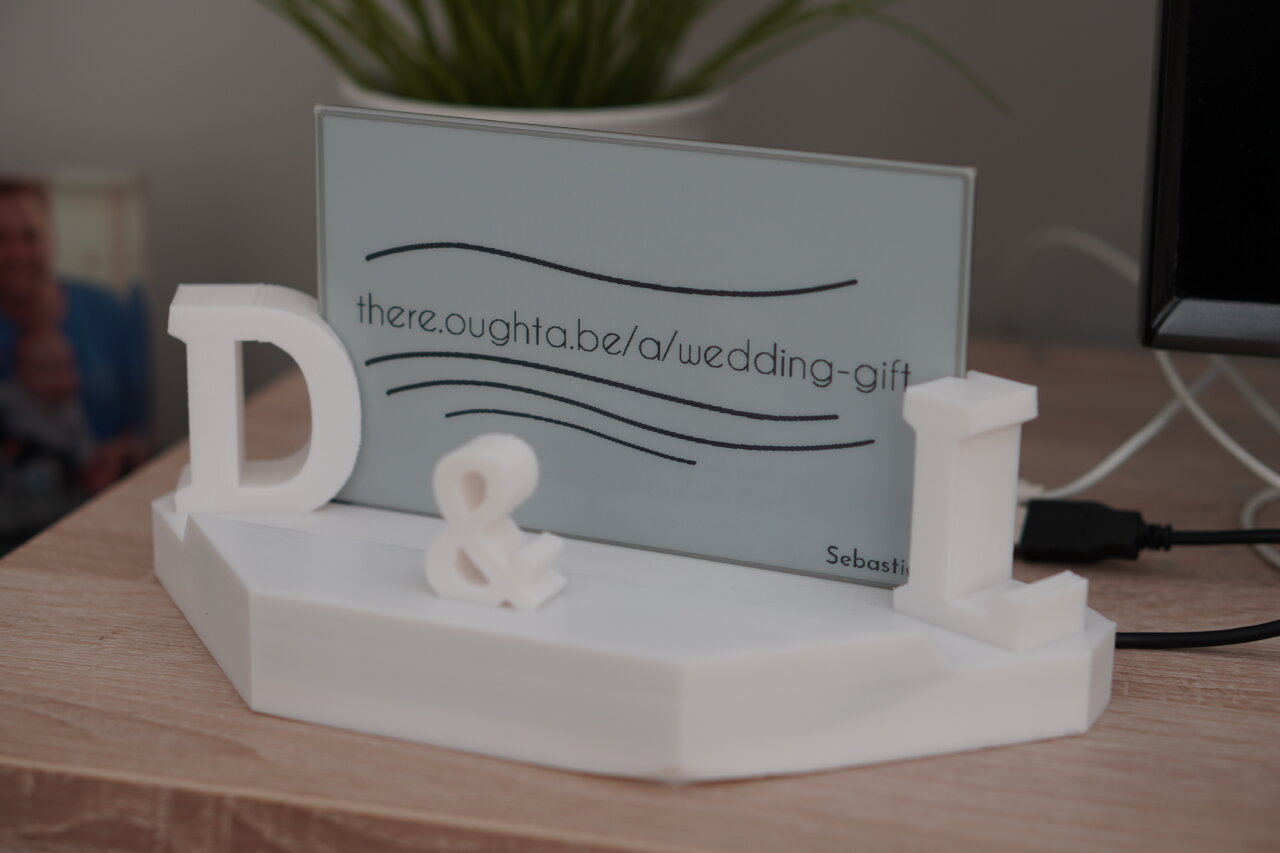
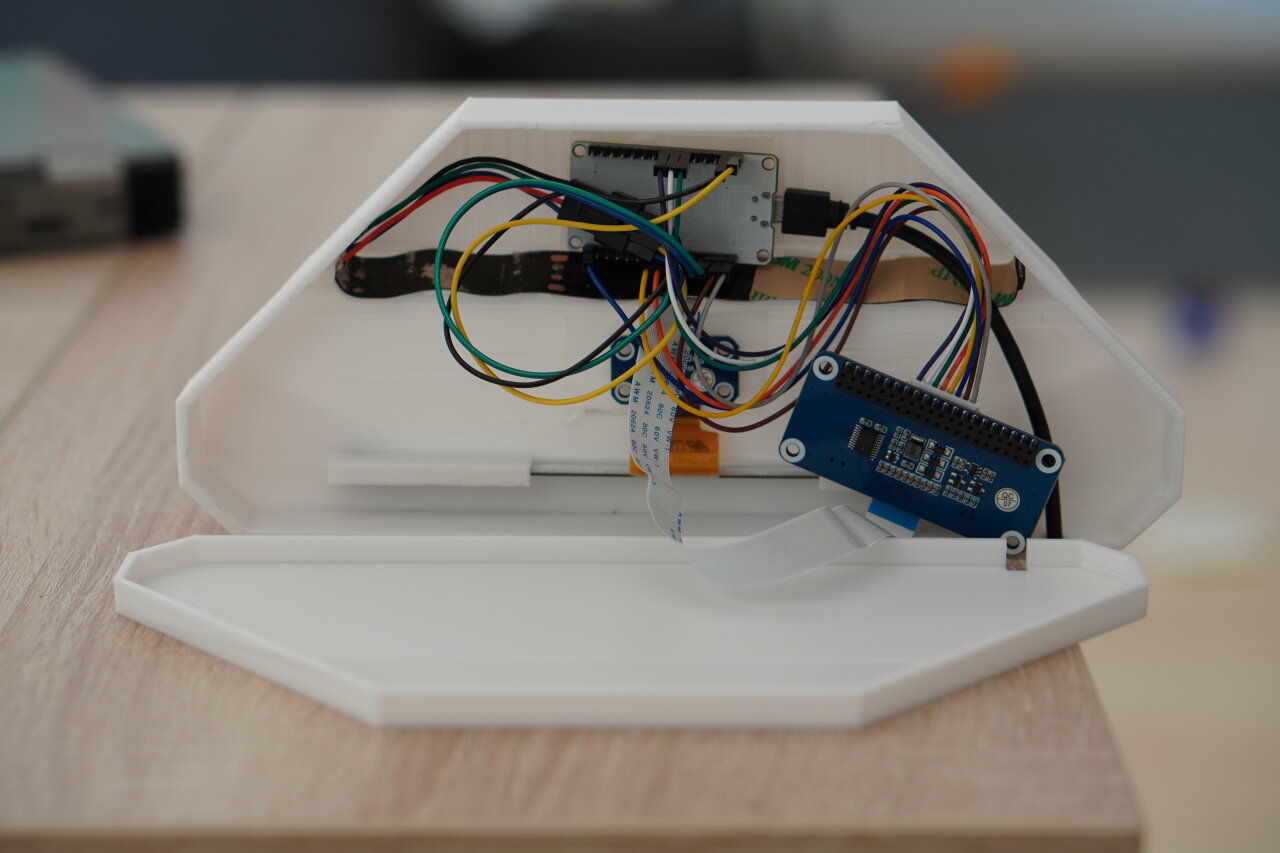
Finally, the body of the guestbook was designed in Blender and 3d printed. Unfortunately, I ran out of time, so this part is not exactly the greatest possible design. I am happy with the outside looks as the initials of bride and groom hold the extremely thin and nice looking screen, but I would have preferred to design exact holders for the ESP32 and the driver board. Instead, it is just a hollow base with all the electronic cramped in6 and sealed with a simple cover held in place by some double-sided sticky tape.
If you are interested in recreating my project, you might want to redesign this part yourself. After all, it is very likely that you need different initials anyways. Still, if you want to start with my design, you can find the blend file as well as the exported STLs in the github repository for this project.
Unfortunately, I have to start this section with a disclaimer. I love sharing my code and as usual you can find it under the GNU GPL3 licence on a github repository, but if you hope to just use it for a similar wedding gift, I have to disappoint you. First of all, there are many last-minute additions that are not very well structured, but more importantly, I gave the device away - it was a gift after all. This means, since I do not have a second e-ink screen, that I cannot restructure the project for you or fix bugs, because I cannot verify that it is still working properly.
In fact, during the wedding reception I had to take out my laptop7 and work around a nasty bug as the device failed to format the SSID of the local Wifi into a debug string. The point is, that this bug is still in there and I can only assume that it has to do with a missing null terminator of a C-type string, but I cannot fix or test it without the actual device. So, be prepared to fix and improve a few things while fighting with some poorly documented code.
The code uses a range of libraries, the most notable one being the GxEPD2 library to drive the display. This one turned out to be far superior for the screen I used than any other library. The LEDs are driven by Adafruit’s WS2801 library and of course there are the standard libraries for the Wifi module. You might also notice that I am running a small web server on the ESP32, but that is only meant for some emergency commands from my phone, so I can fix simple things without taking out my laptop during the party. In the end, it only responds to a simple call that deletes all locally stored images, so the guestbook would reload all images from the server.
Speaking of locally stored images: Every submission is stored in the ESP32’s SPIFFS. You can partition the ESP32 to make a bit more room in the SPIFFS for such images, but you still do not want to store 800x480 = 384.000 bits = 48.000 bytes per submission, so I had to be a bit more creative than transferring monochrome bitmaps.
The communication scheme for the guestbook is very straight forward. All images are stored on the web server that allows the guests to create the messages and it also hosts a simple PHP script to poll the number of stored messages. A simple call to that script simply outputs that number. No additional formatting, no additional information, no means for additional control. The guestbook can provide some additional GET parameters to provide status information (available storage, IP address, SSID of used Wifi network, etc.), but that’s it. If the number of images on the web server is larger than the number of locally stored images, the guestbook can load a specific image by providing the index of the missing image as a GET parameter.
The response will be a base64-encoded binary file, which as mentioned above does not simply contain a monochrome bitmap, but a specific encoding for this project. I am quite sure that there is a proper name for what I am doing here, but I do not know much about coding theory, so let me simply describe how it works.
Each line of the image is encoded individually. It always starts with a single byte that indicates how that line is encoded. If it is zero, the line is encoded as a simple bitmap, followed by 100 bytes representing the 800 black or white bits. However, this is only a fallback for the rare cases in which the other method is less effective.
If that first bit is larger than zero, the following bytes sequentially give the number of pixels with the same color. The first bit then indicates how many bytes will follow8. So, for example, if the first byte is 5 followed by 200, 150, 150, 200, 100, that line has 200 white pixels, followed by 150 black pixels, 150 white ones, 200 black ones and finally 100 white ones. Since there could be more than 255 white pixels in a row, I made 255 a special case, after which the color does not change. So, an entirely white line of 800 pixels is encoded by a sequence of 4, 255, 255, 255, 35.
I do not even store a plain bitmap version of the messages on the server, but directly generate this encoding in JavaScript on the guest’s device as they submit their message. However, in order to easily see previews of the messages, I have a PHP script on the server that decodes the image and returns a PNG file.
The design of the user interface for the guests turned out to be the hardest part and in fact, it is still far from perfect. So, again, here are some disclaimers for the code you can find on github:
Ok, with that being said, describing the actual interface is probably shorter than the disclaimer. When people enter the URL, they see a large empty canvas and four buttons, which in sequence allow them to enter a name, a message, some drawings and to finally submit the resulting image.
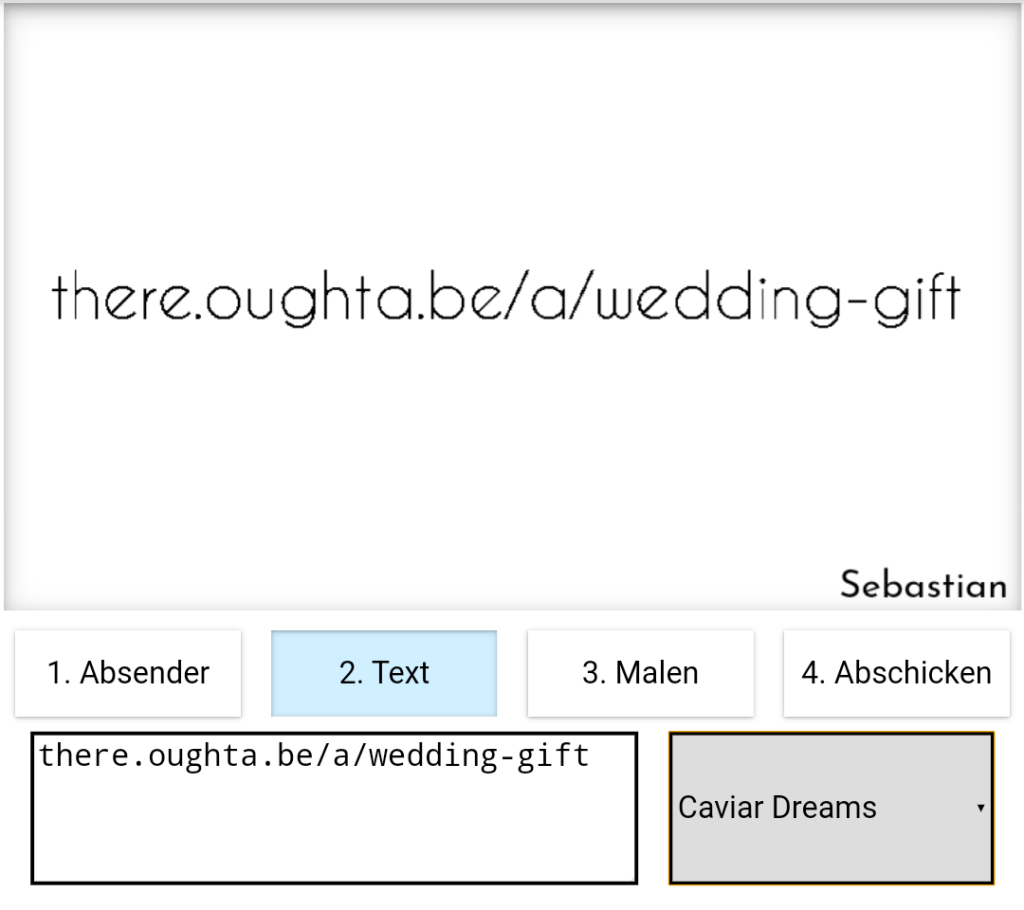
The name is always shown in the bottom right corner to keep it consistent. But for the message, the guests could pick different fonts and the font size automatically scales to fit the screen in both, width and height. When the font size becomes too small, a warning is shown and if the text is cut off at the edges, the guest cannot submit it.
Originally, the doodling section was supposed to be the main part of the guestbook. However, since drawing with fingers on a small screen is not exactly great, this mostly has decorative uses. At least I use the JavaScript library Atrament to achieve smooth strokes.

One important detail I found during testing is that the preview has to be shown in black and white, so the user sees the exact result. Some guests tried to send colorful smileys which were not really well represented on the black and white screen. This also streamlines the submission process. I simply take the pixels from the web canvas and encode them directly before submitting to the server.
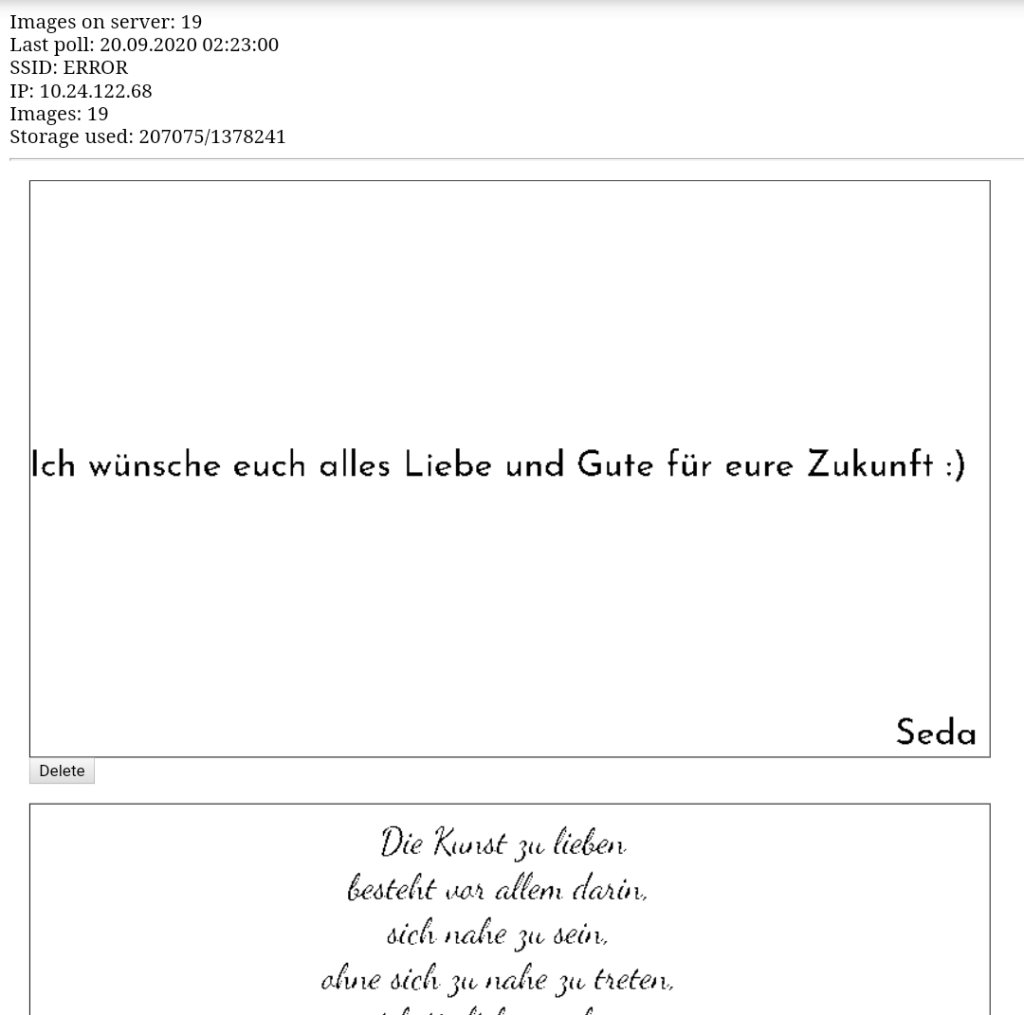
Besides that, there is also a small (and unprotected) status script, which allows me to see some stats from the guestbook along with all the images. Here I also have the option to delete individual images although my quick and dirty implementation requires me to manually call the clear-URL on the ESP32’s webserver to delete all the local copies and force it to re-download all images.
I have to admit that under the hood I made a few shortcuts, but on the outside, the device certainly looks nice and drew a lot of attention. While I think that it can be decorative without the LEDs, they certainly were a great accent in the later hours of the wedding9.
I think that the most stunning aspect is the e-ink screen. While most people are used to them in e-book readers, they still look extremely different to all the displays we are used to in our everyday life.
I registered a domain with the couple’s names for this. ↩
Drawing on a phone screen without a pen is not exactly easy. So, this is mostly for some decorative lines or a misshapen heart. ↩
Defined in HSV, with 50% saturation, full value and a gradient along the hue. It is always surprising how much a lower saturation helps to pull RGB LEDs away from the cheap DJ booth look. Unfortunately, their individual reflection was visible on the screen, which could have been improved. ↩
In theory, old USB 1.x ports only supply 100mA and 500mA is supported since USB 2.0. But on one hand, you barely find such an old port anywhere and on the other even those ports usually can handle the higher current. ↩
I received the restaurant’s employee wifi credentials beforehand from their chef. ↩
Fun fact: In the darker images, you will notice that the ampersand has a red glow. This is actually the power LED of the ESP32 and a lucky coincidence. I did neither expect it to glow through the 3d printed parts nor did I put any effort into aligning it. ↩
Thereby cementing my role as the family nerd once and for all. ↩
Obviously, this will not exceed 100 bytes, because in that case, the simple bitmap encoding would be more efficient. ↩
Although I am quite sure that I will create a version with the LEDs off for my brother. At least I would not like them when it is on display in a regular room. And my brother certainly has more taste than me… ↩